Spring is finally here. This is a wonderful time of year to get outside with younger children, but it can sometimes be hard to know what to do. Spring crafts are a great way to teach kids about nature, use fine motor skills and get outside. They can also be a fun way to reuse common household materials that would otherwise be destined for recycling or the landfill. Read on for some easy, eco-friendly craft ideas that use common household items and will be sure to activate your child's inner artist and nature lover.
Egg carton tulips
What you'll need:
An emptied cardboard or foam egg carton
Scissors
Washable paint in bright colors like yellow, purple or pink
Paintbrushes
Green pipe cleaners
What to do:
Simply cut apart your egg carton so that the cups that held the eggs are all separated. Depending on your kids' ages, this may be a job for a grownup. Invite your child to paint each egg cup how they'd like. Once the egg cups are dry, poke a small hole in the bottom of each and push a green pipe cleaner through the hole. This will act as your stem. You can make one or a dozen of these fun tulips, and unlike real tulips you buy at the store, they'll last for years.
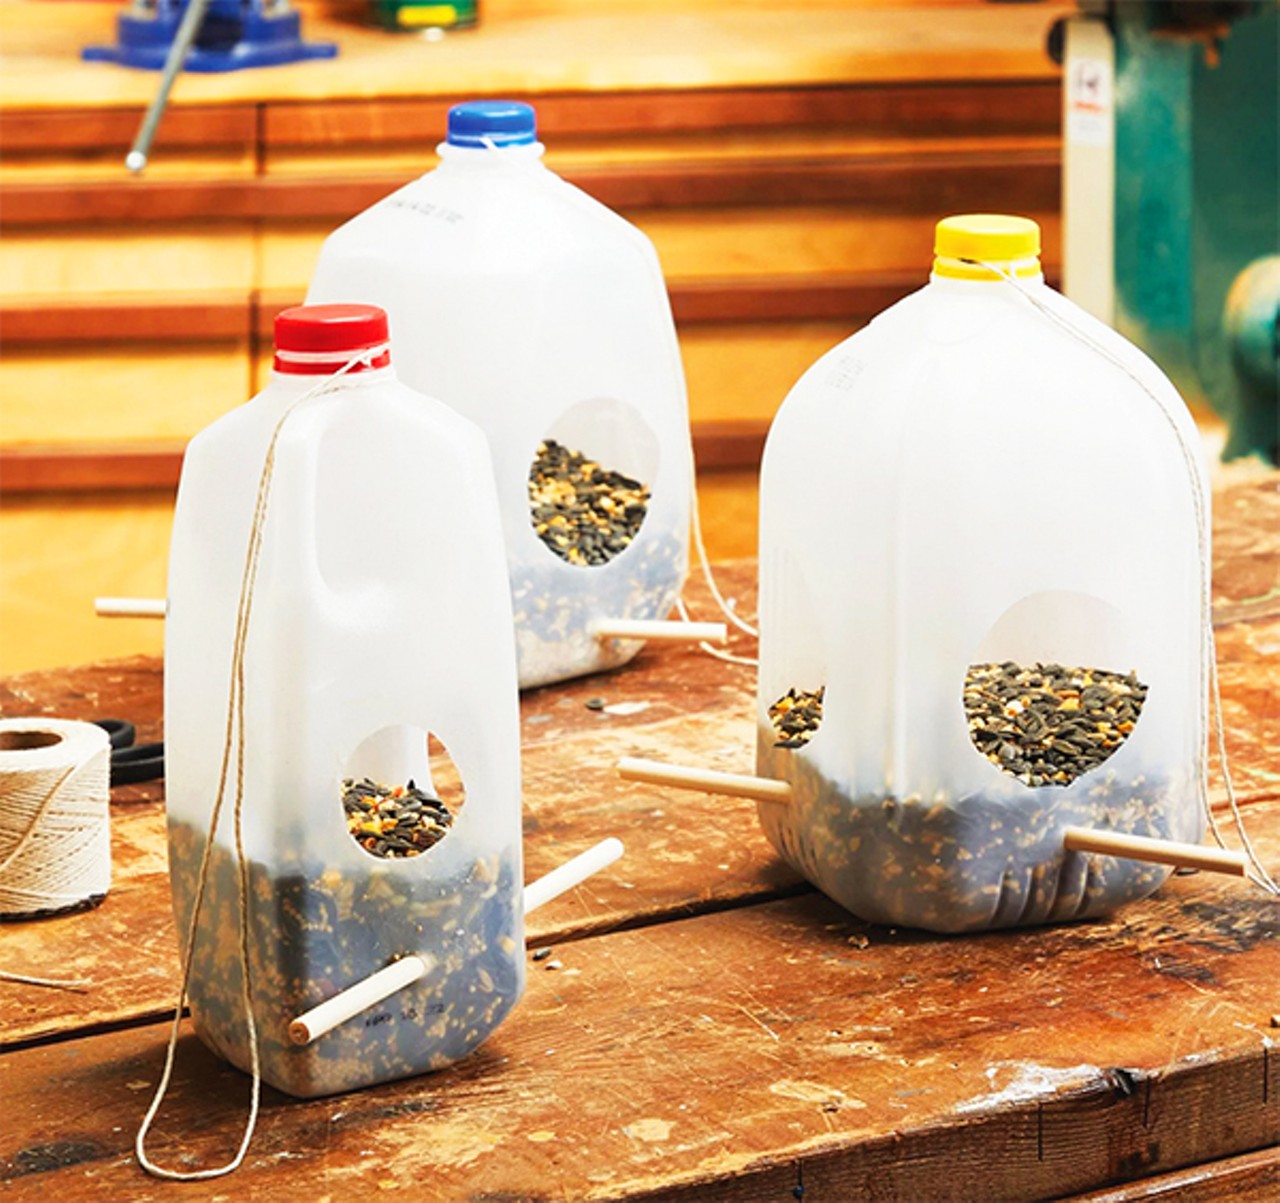
Milk jug bird feeder
What you'll need:
An empty plastic milk jug
Permanent markers or acrylic paint
X-acto knife or scissors
Sticks or twigs
Bird seed
Long string or twine
What to do:
Before you start, clean your empty milk jug well. Once it is clean and dry, use a permanent marker to draw a square on each side of the milk jug, leaving a couple of inches at the bottom. This will be the opening that birds will use to eat. Cut these squares out using an x-acto knife or scissors (this is likely a grown-up job).
Below those large squares, cut smaller squares, only large enough to push a stick or twig through. Then, cut two small holes near the top of your jug. This is where you'll string through twine to hang your feeder.
Before you add your sticks and twine, invite your child to decorate the prepared milk jug with permanent markers or acrylic paint. Don't use washable paint, as this will come off in the rain.
Once your jug is decorated, cross and insert your two sticks into the bottom holes of your feeder. String your twine through as well, and hang your feeder from a tree. Fill the bottom of your feeder with birdseed. Birds will perch on the sticks to access the feed through the large windows you cut. Enjoy watching your visitors.
Tin can windchimes
What you'll need:
Tin cans, emptied and cleaned thoroughly
Acrylic paint and paintbrush
String
Hammer and a nail
Metal washers or nuts
Thick tape such as painters tape, masking tape or duct tape
What to do:
Be sure your cans have clean edges. You can use tape along the rims of the cans if you are concerned about little fingers. Invite your child to paint the cans however they like. Be sure to use acrylic paint, as washable paint will come off in the rain.
Once the paint is dry, kids can use a hammer and a nail to poke a hole in the bottom of their cans. String a long piece of yarn through the hole, and tie some washers or nuts to the string on the inside of the can – one to hold the yarn onto the can and another further down to make a sound when the can rattles.
Once you've tied your washers or nuts to the yarn, test out your chimes to see what sounds they make. Your child may be interested in using different sizes of washers, cans, etc. to investigate different sounds.
Finally, hang your colorful tin can wind chimes someplace where you can admire them together.
Pamela Savage is a freelance writer in Springfield. She is always looking for something creative to do with her kids.